After owning my Raspberry PI for aR year, I decided it was time to actually do something useful with it.
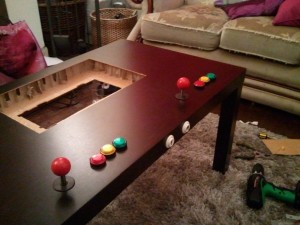
I"ve decided to ruin my girlfriends coffee table and convert it into a fully functioning arcade cabinet for entertaining guests.
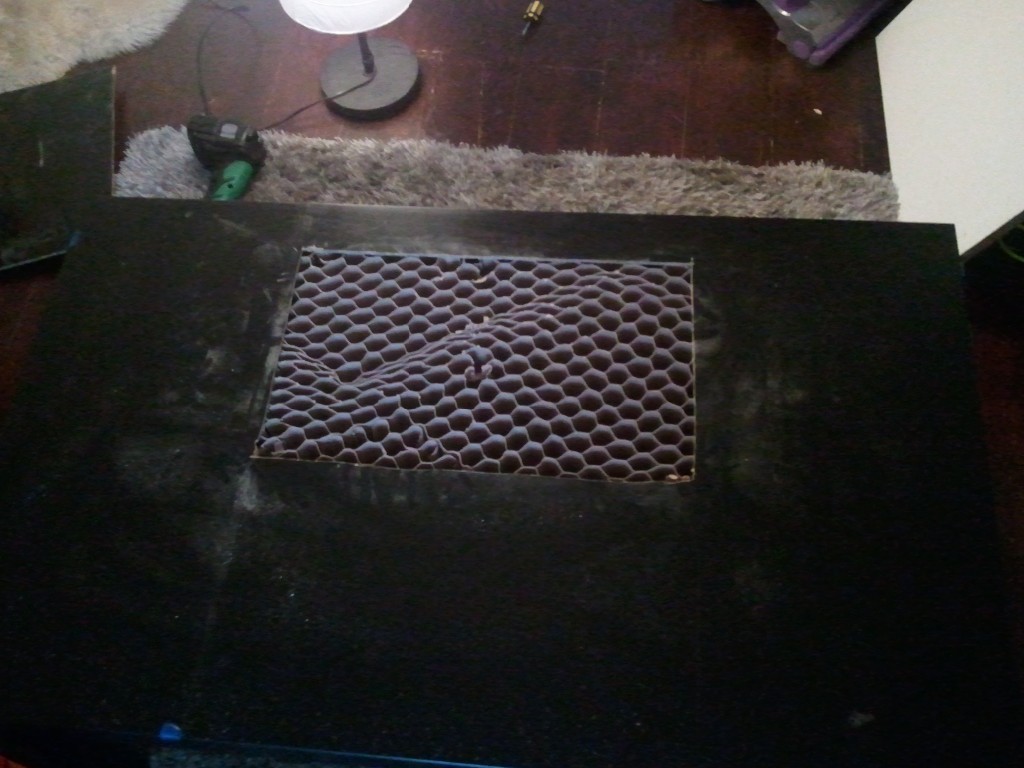
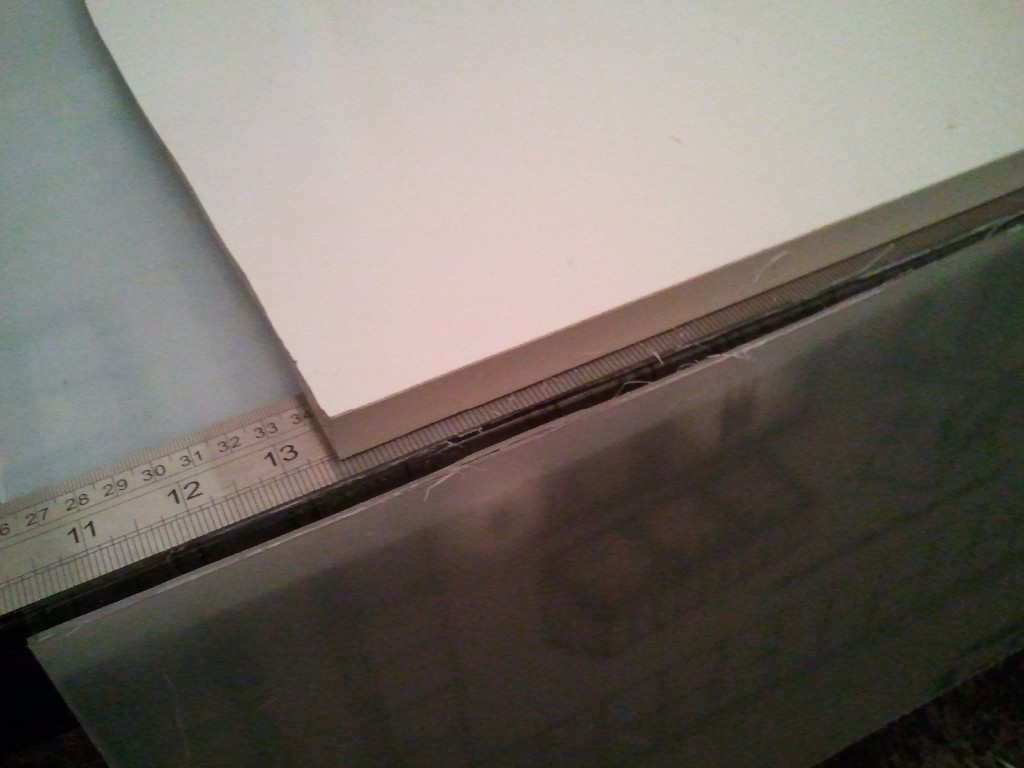
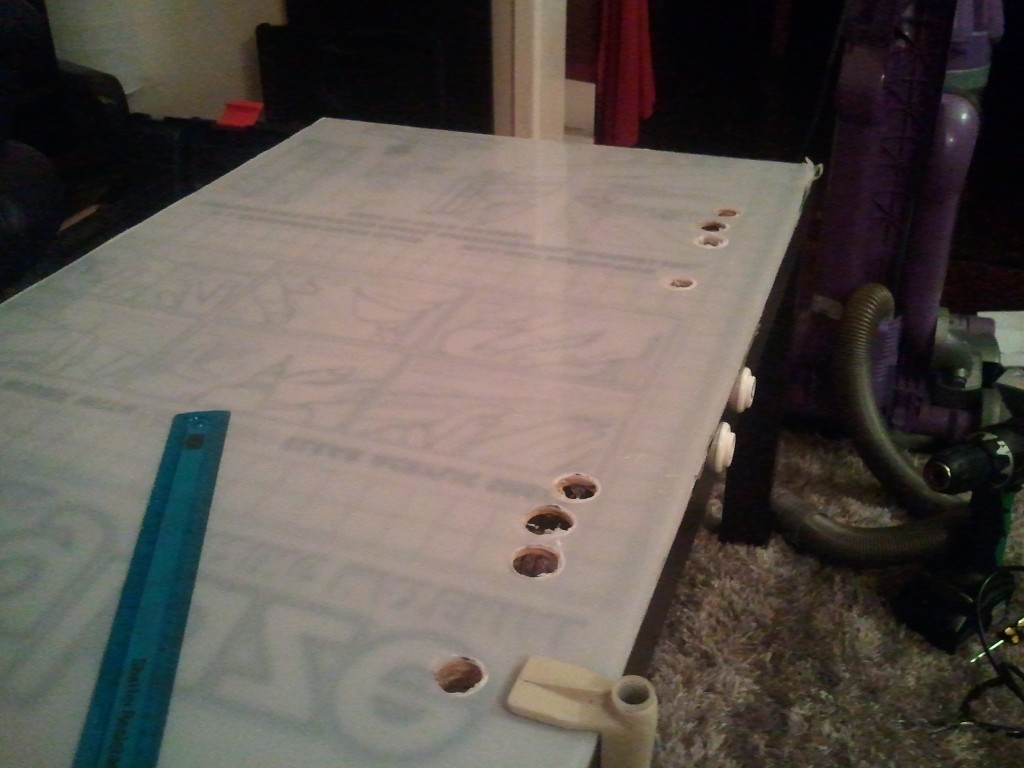
The Victim, the table is a £16 IKEA Lack table. its filled with cardboard making it very easy to work with. Here you can faintly see I"ve roughly drawn lines to cut out for the monitor. Shockingly I did this with a 30cm ruler

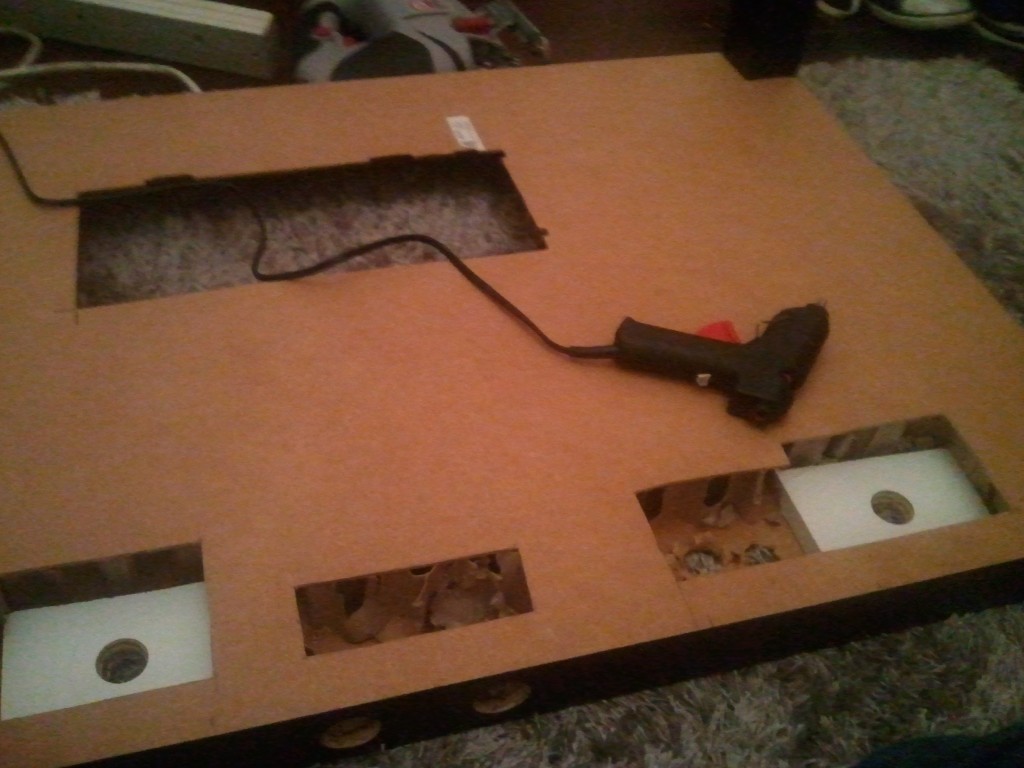
Very badly cut hole. The cardboard can just be pulled out using your hands
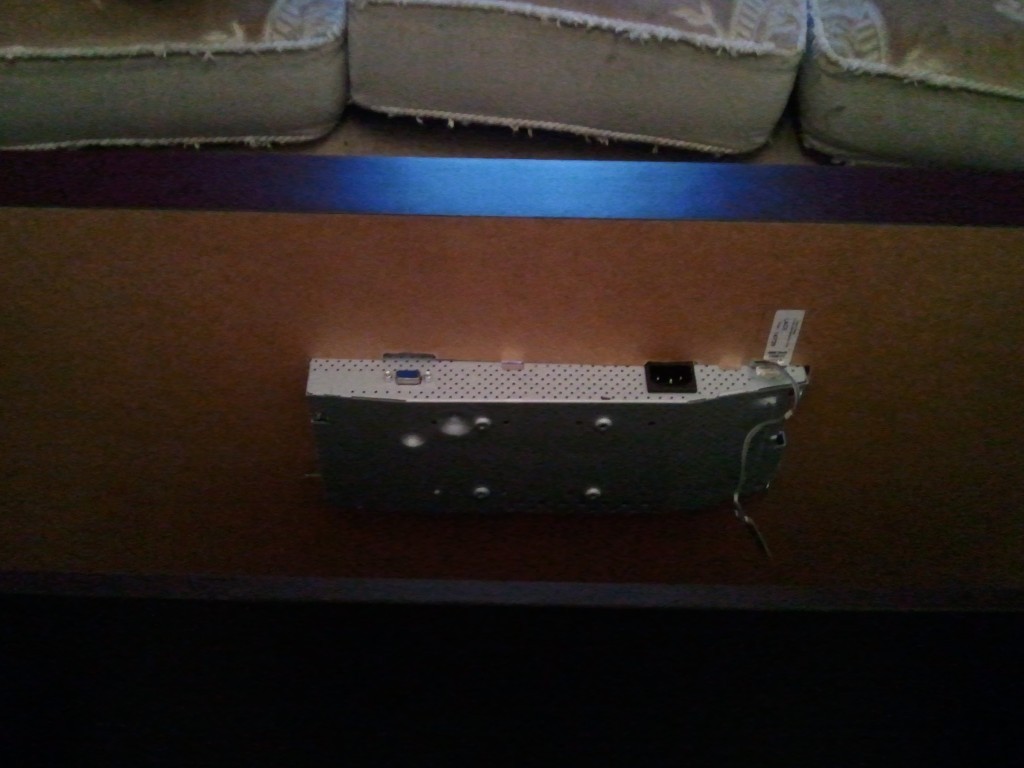
I scored a cheap monitor off Ebay, unfortunately it was VGA only, meaning It wasn"t so cheap after buying a HMDI to VGA adapter for the PI. The resolution is pretty poor, but for old arcade games it does not matter at all, in any case it should help speed the games up with having less pixels to render.
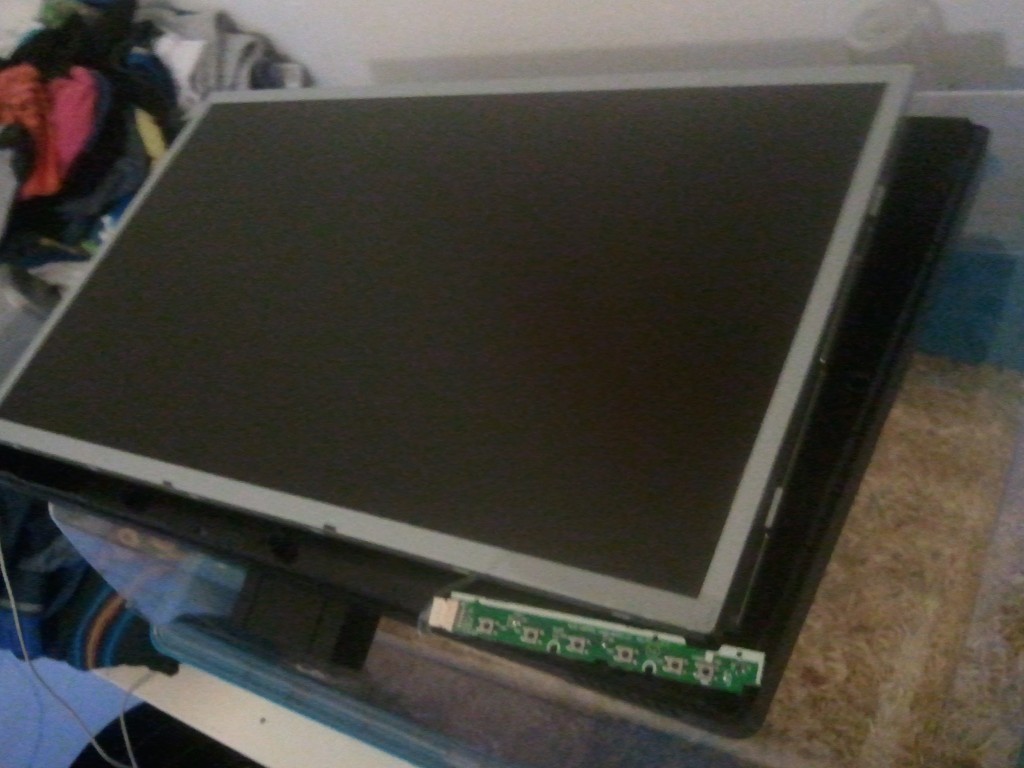
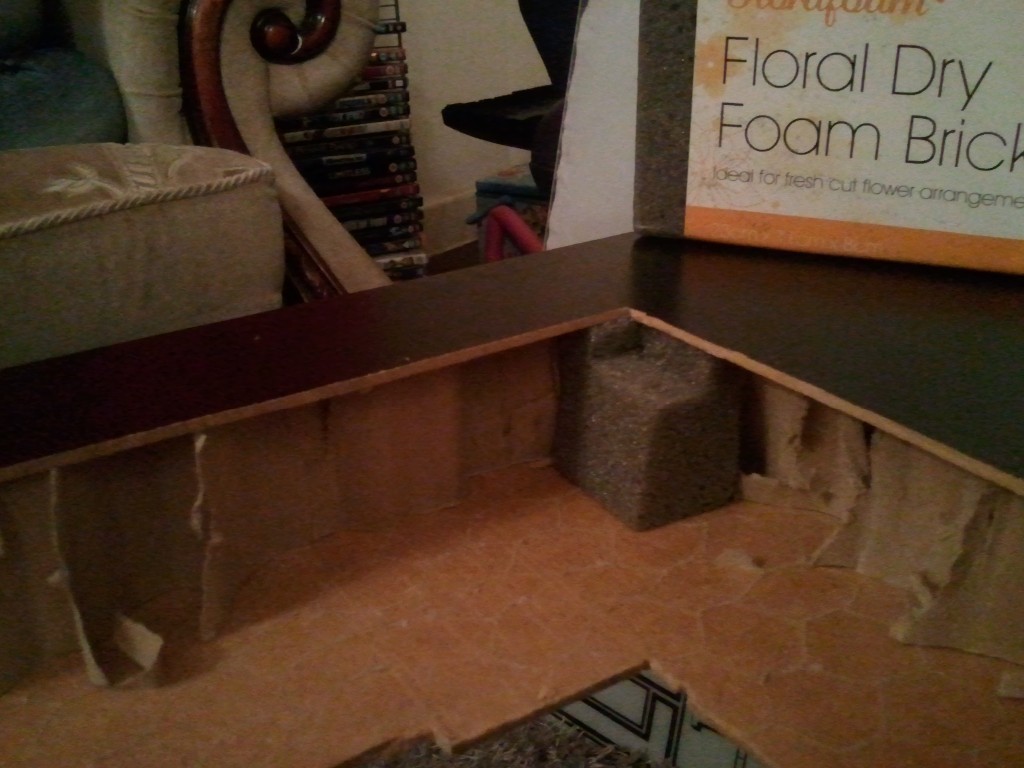
The monitor unfortunately had it"s transformer inbuilt, unlike newer monitors have a power brick (Should of done my research!). A hole had to be cut to hold this in place and allow air circulation.
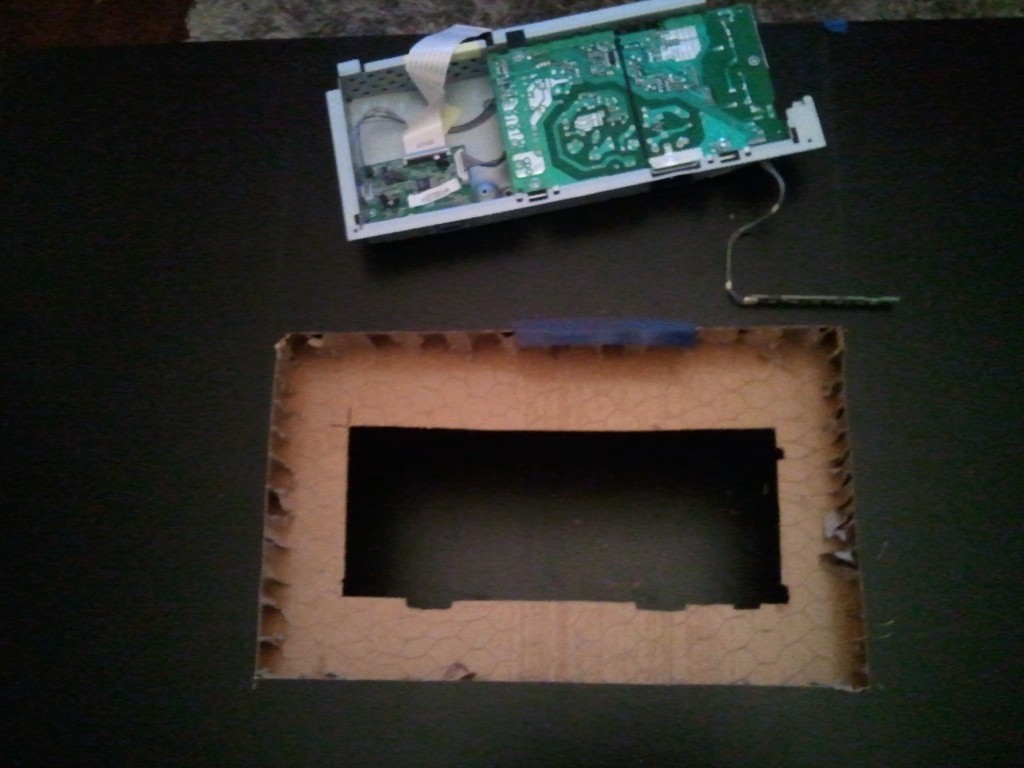
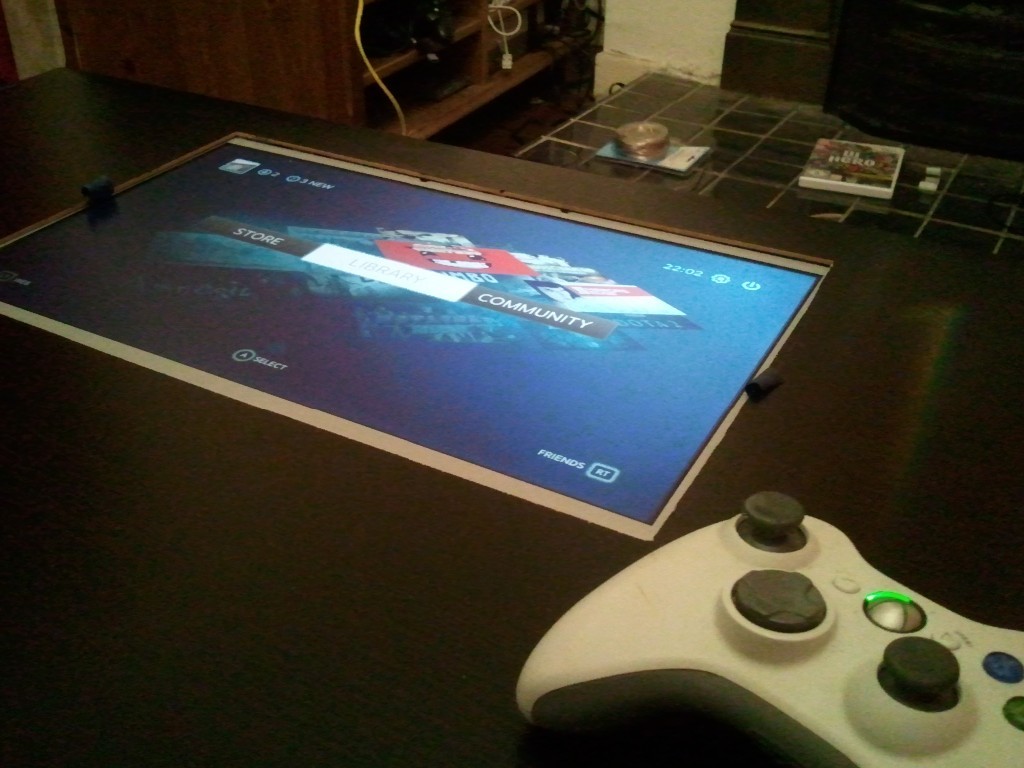
Once in, it did not look too shabby, and allowed easy access to the vga port to plug in a laptop etc.
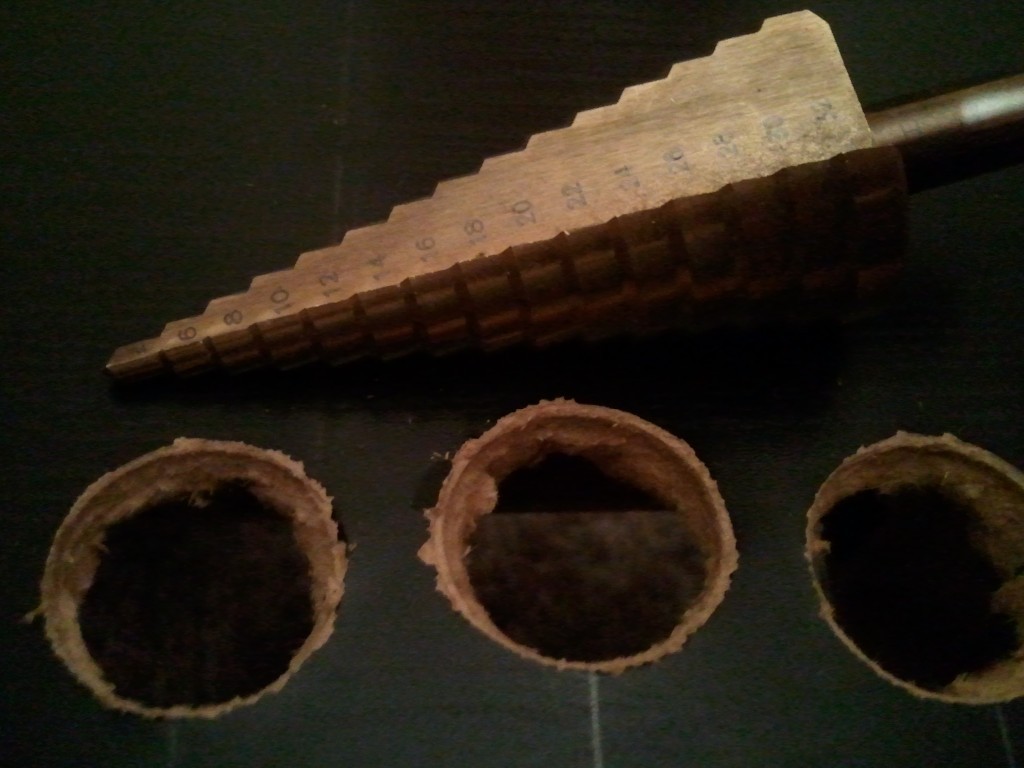
The next step was drilling the holes for the buttons, it was looking quite expensive for all the hole cutters I"d need, in the end I read up on people using a stepped drill bit, which worked out loads cheaper, and saved many headaches later on with the plexi glass. It"s finish isnt the smoothest, but the button caps hide that.
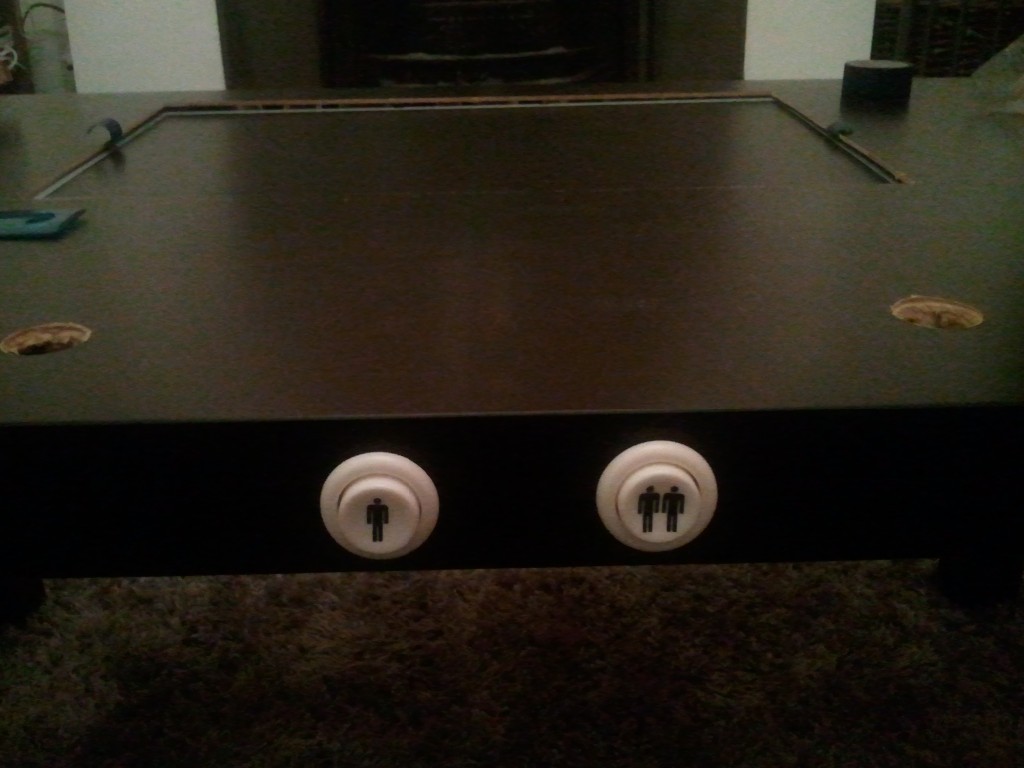
Some more holes were drilled for the player 1 & 2 start buttons,, and here I"m testing a wooden mount for the monitor.
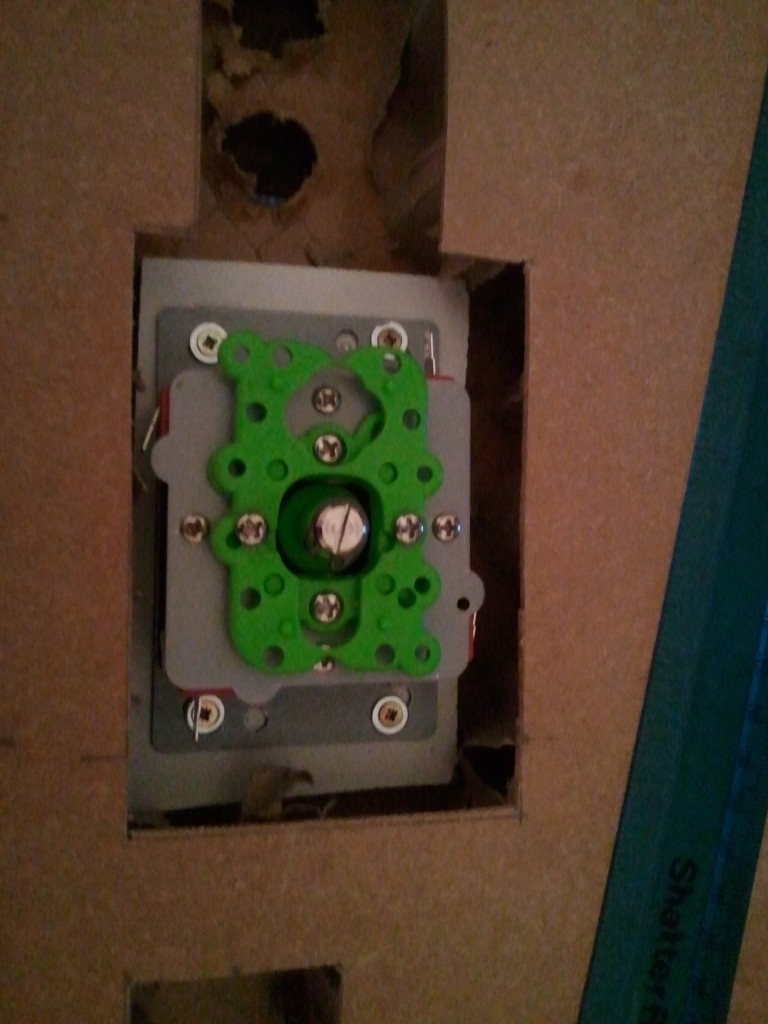
Next came the joysticks, I spent a long time looking up on how to mount them without any screw holes on the surface, in the end I opted to glue some wood to the underside of the table.
The joysticks then screw into the wood holding them in place.
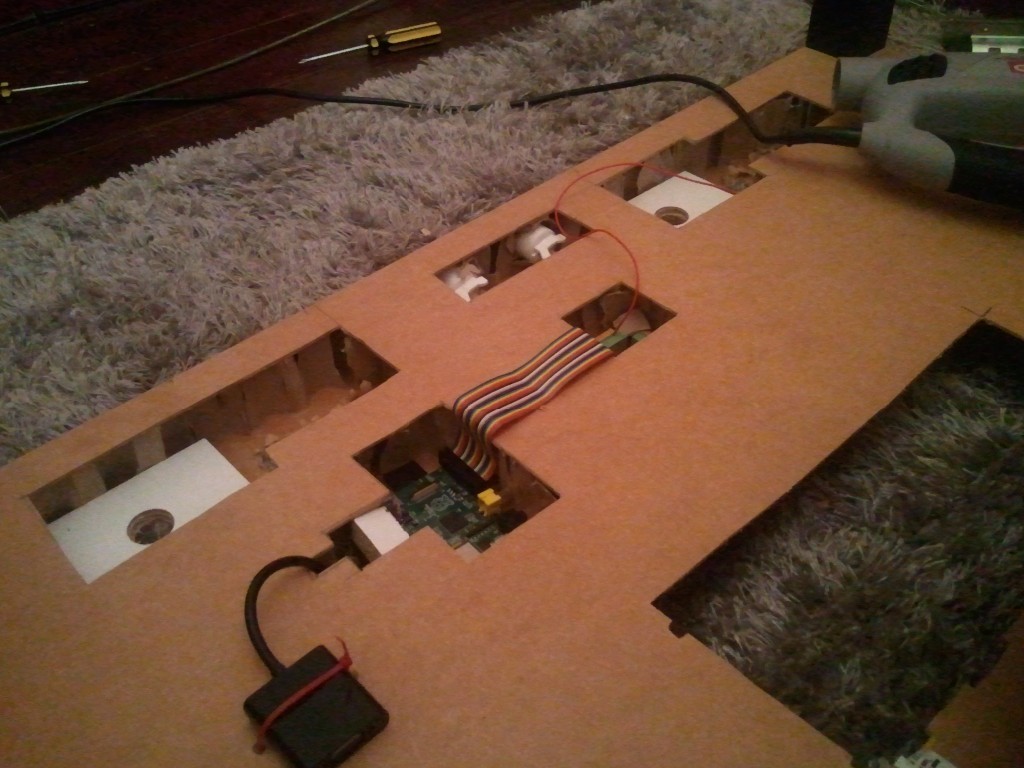
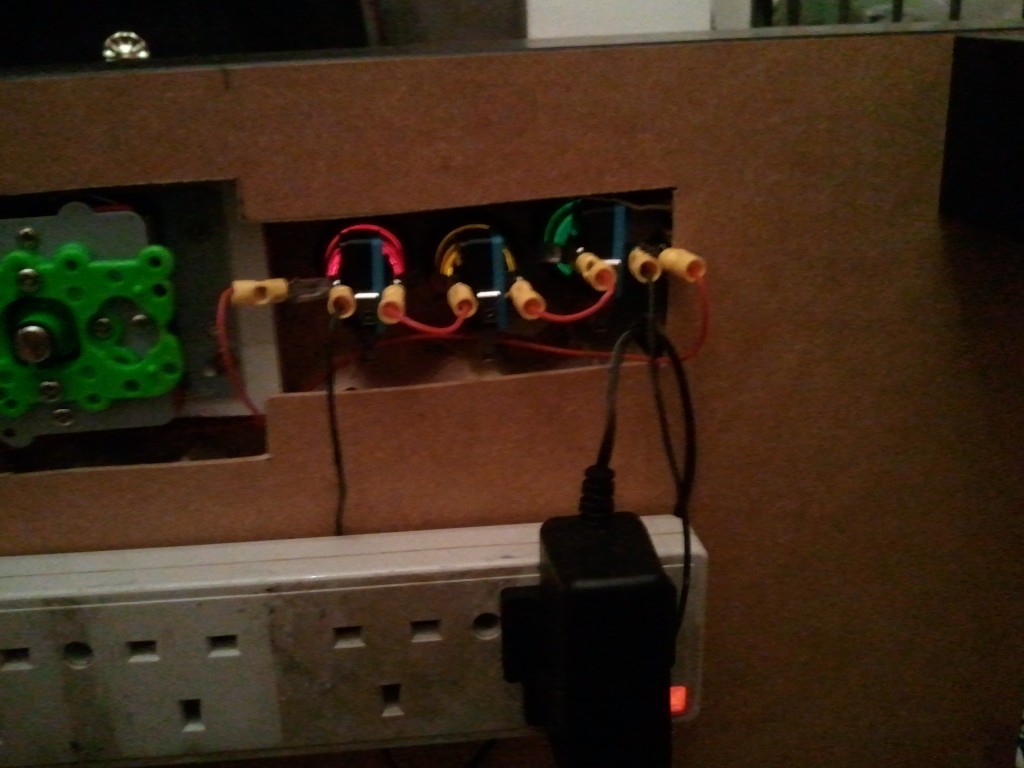
I found a GIPO extender in maplin, it handily allows you insert raw wire into the pins, all 14 buttons will run into this block, a simple script on the pi translates the GIPO signals to a keyboard key presses (
http://learn.adafruit.com/retro-gaming-with-raspberry-pi/buttons
)

Laying out the Rasperry Pi, the VGA converter and the GIPO pin board
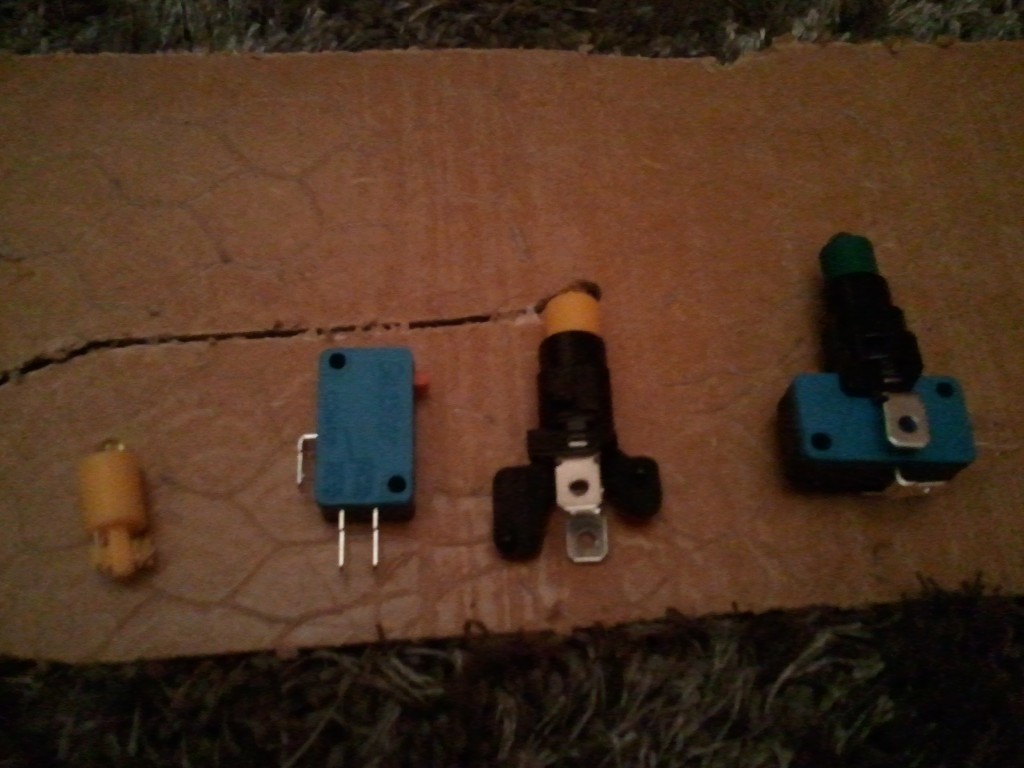
I brought some LED arcade buttons off ebay:
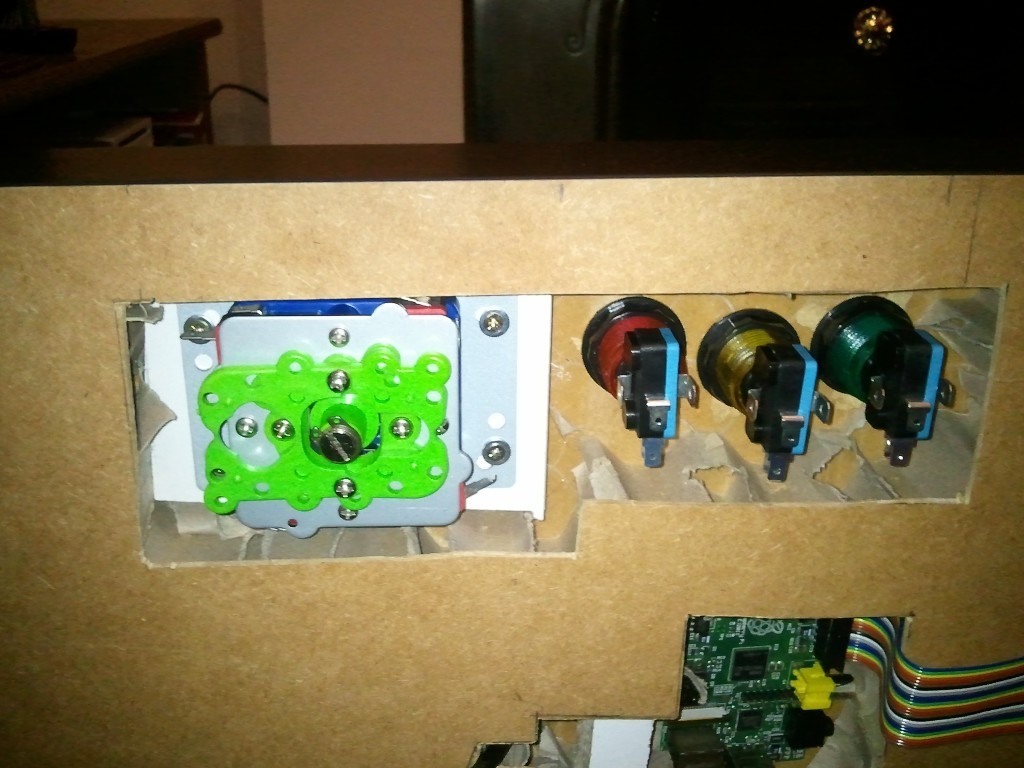
Joysticks and buttons assembled:
Top view:

Time for some LED action, I used an old 9v mobile phone charger wired in parallel for each player to power the buttons.
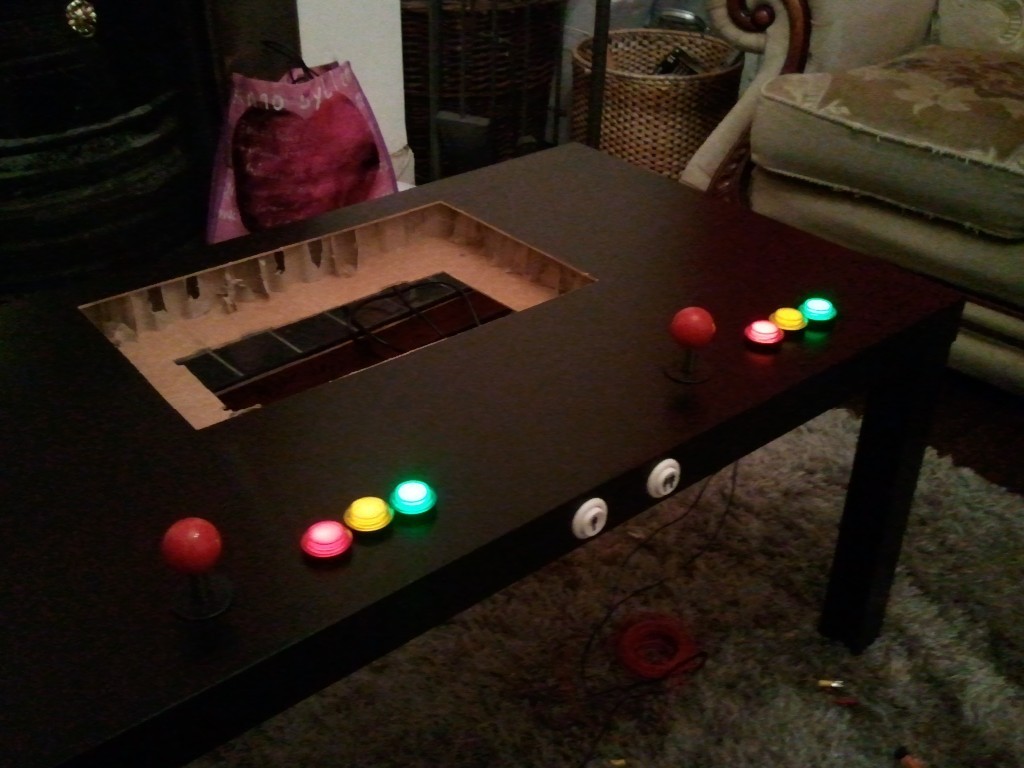
Feels like Christmas:
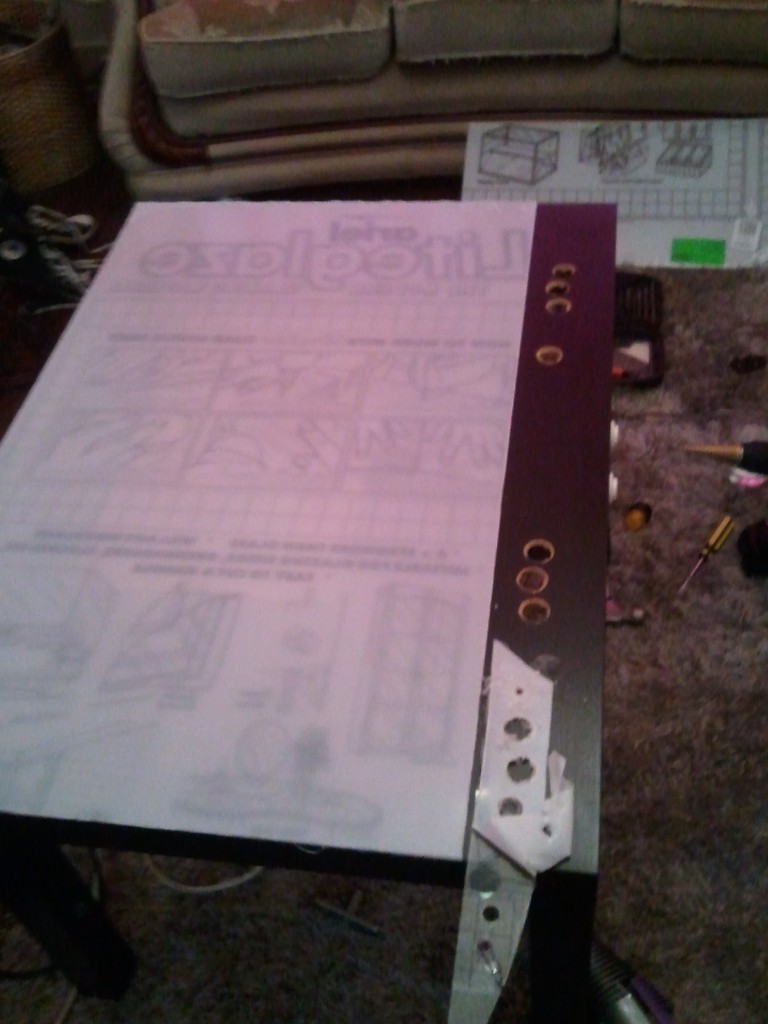
To protect the screen I opted to cover the table in plexiglass brought from homebase. a lesson to be learnt is you can never scour it enough when cutting it down to size, the first cut show here was perfect, but my second break was not so much, and I was left with some fragments still attached which I had to jigsaw down leaving it very ugly.
Using a scrap bit of plexiglass It dawned on me just how hard this stuff is to drill, if you cut just a little too much at once it cracks, I practiced at least 12 holes before daring with the real stuff. The main take away was to take it very slow, taking a break to Hoover the waste regularly (this sometimes melts and acts a sort of glue between the drill and the sheet resulting it in cracking.)
After a week of drilling every night using the stepped drill bit I finally had the holes cut without any cracks, it was painfully slow. next time I"d probably opt for a design that has the control panel uncovered
I scrapped my wood mount for the monitor after finding some tough foam in a pound shop, this was a lot easier to mold into mounts with the stepped edges I wanted. The steps were glued at the base.
Wired up, mounted and now testing the monitor with big picture. One thing you cant see is that the monitor is mounted upside down, due to the viewing angles (I learn"t this trick at work!), the videocard rotates the image and no one is the wiser!
I"m currently wiring up the board and controls to the pi, so more pictures are soon to follow!